Updated on 2024-06-21
2660 views
5min read
Getting ready for a first date with someone you met online or heading to an unfamiliar destination? It’s smart to share your location with friends or family. But how can you do this if the other person is using a different device?
Don’t worry! This article will guide you through various methods to share your live location, whether you’re on Android or iPhone. From built-in tools to mapping software and social media apps, we’ve got you covered. Read on to learn everything you need to know.
Part 1: How to Share Live Location on iPhone
In this part, we will introduce you to three simple, yet effective ways you could share live location on iPhone.
Method 1: Share Live Location On iPhone via Find My App
The quickest way to share live location on iPhone is by using the built-in Find My App. However, Find My App only allows you to share live locations with another iPhone user. The steps are outlined below:
Step 1: Open the “Find My” app.
Step 2: Tap on the “People” tab and select “Start Sharing Location”.
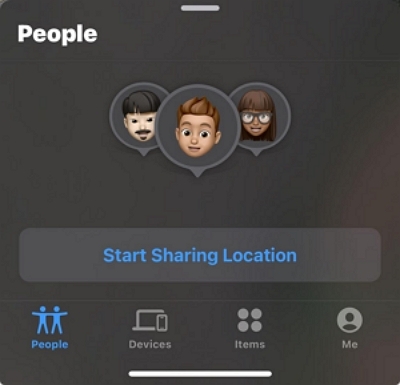
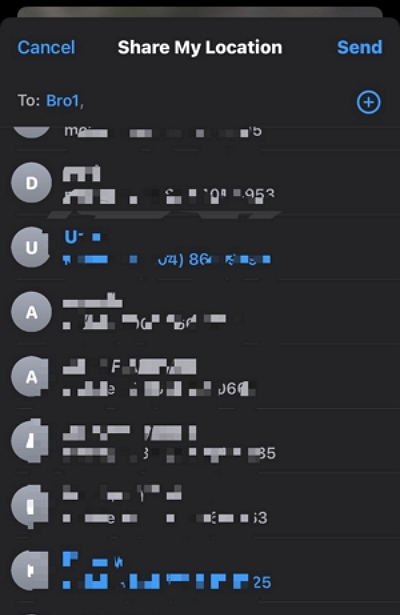
Step 3: Select the user you want to share your location with and tap “Send”.
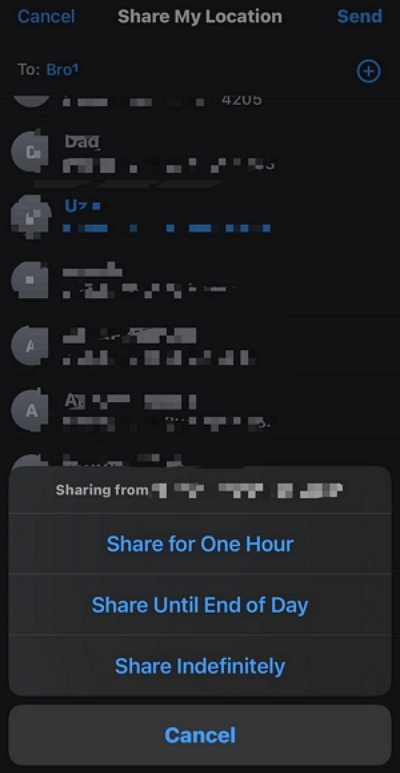
Step 4: Select how long you wish to keep sharing your live location. You can share for one hour, until the end of the day, or indefinitely.
Method 2: Share Live Location on iPhone with iMessages App
You can also use the iMessage app to share live locations on iPhone. Unlike Find My, it allows you to share live location on iPhone with anyone, including Android users. You just need to have the person’s contact saved on your device. Here is how this works:
Step 1: Open the “iMessage App” and start a message with the person you want to share your live location with.
Step 2: Tap on the “Plus icon (+)” at the bottom left corner.
Step 3: Select “Location”.
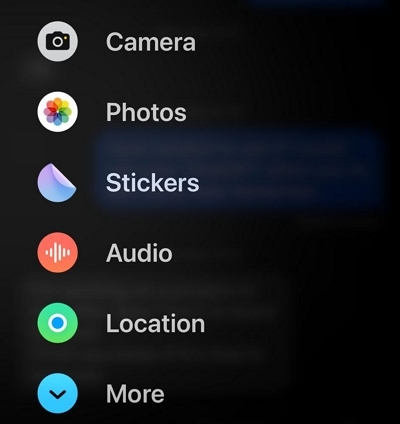
Step 4: For this step, there are different scenarios.
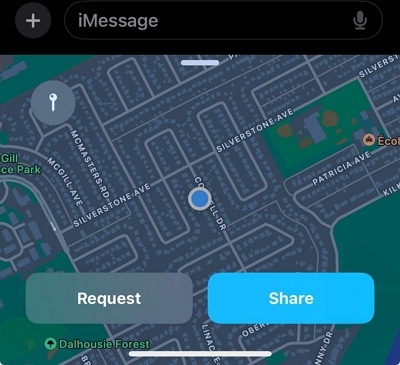
Situation 1: If the person you want to share your live location with is on “iMessage”, you’ll see the option that says “Share”. Tap on this option to share your live location.
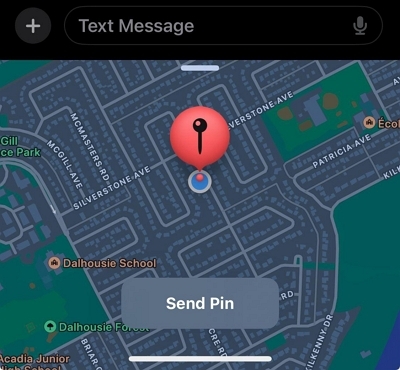
Situation 2: If the person is not on iMessage (maybe an Android user), you’ll see the option that says “Send Pin”. Tap on it to share your live location.
Method 3: Share Live Location on iPhone Using Google Maps
Google Maps can come in handy when you want to share your iPhone location with an Android user. Here is how it works:
Step 1: Install the “Google Map” app on your iPhone via the App Store.
Step 2: Set up the Google Map app using your “Google Account”.
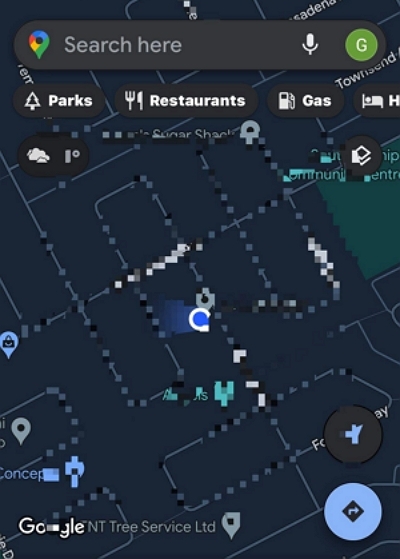
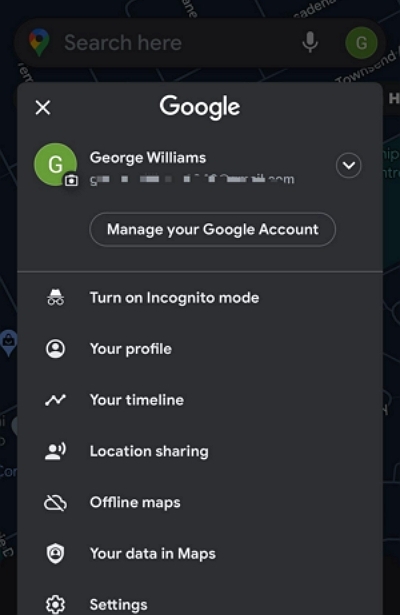
Step 3: After the setup is complete, tap on your “Profile ID” at the upper right side and select “Location Sharing”.
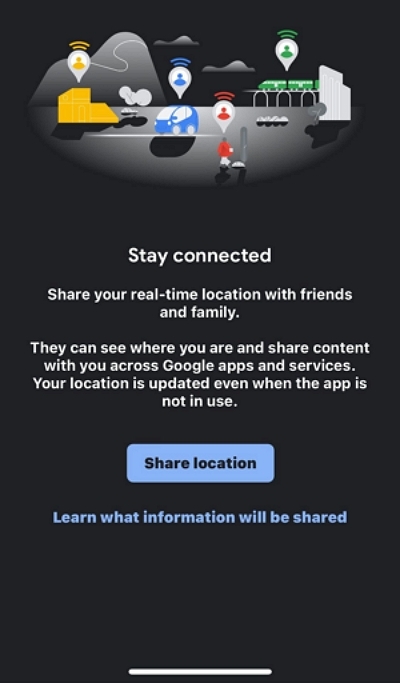
Step 4: Tap on “Share Location”.
Step 5: Choose how long you want to share your live location by tapping the option that says “For 1 hour..”.
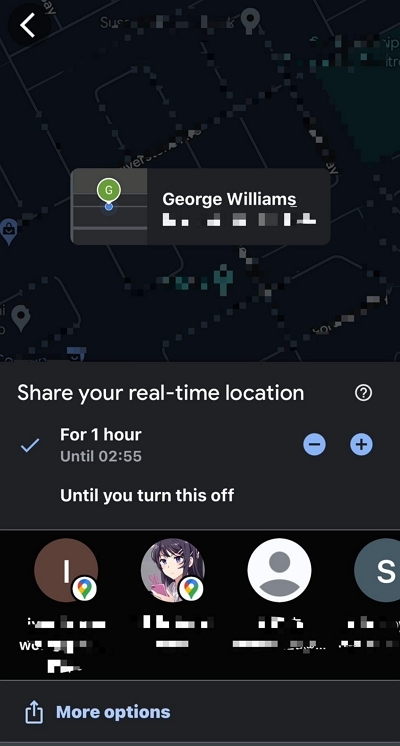
Step 6: Select whom you wish to share your live location with and tap “Share” to confirm. However, if the person does not have a Google Account” select “More Options” and select a different app.
Part 2: How to Share Live Location on Android
When it comes to Android, Google offers an app “Google Maps” you can use to share live locations easily. We’ve explained how to use it below:
Step 1: Launch the “Google Maps” app and tap on your “Profile ID” at the top-right corner.
Step 2: Select “Location Sharing” and tap “Share Location”.
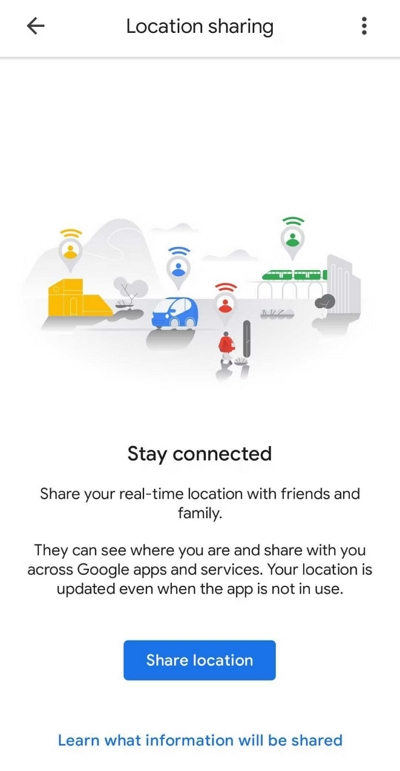
Step 3: Select how long you want to share your live location.
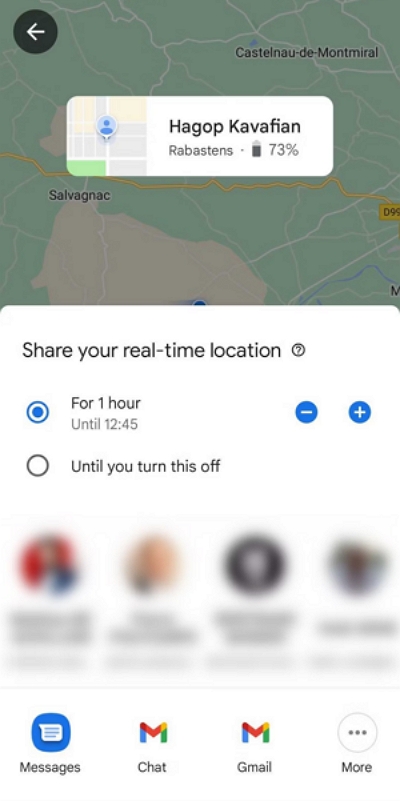
Step 4: Choose the “Google Account” of the person you want to share your location with or tap “More” and select another app to share your location if the person does not have a Google Account.
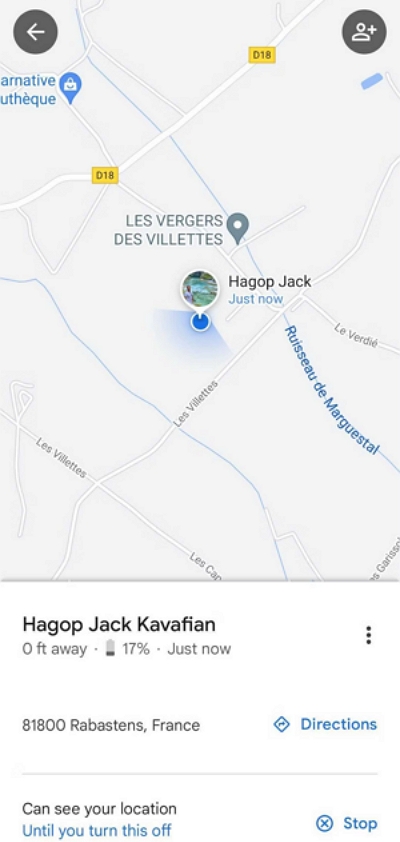
- Tap “Share” to finish!
Part 3: How to Share Live Location on Social Media Apps
If the person you want to share your location with is a friend on social media, don’t panic! Several social media apps offer a built-in feature that allows you to share your live location with friends or followers within minutes. Read on to learn how different social media location-sharing features work:
Method 1: Share Live Location on WhatsApp
WhatsApp allows you to share your live location with your family or friends via chat. Here is how:
Step 1: Open WhatsApp and select the chat with whom you want to share your location.
Step 2: Tap the “+” icon at the bottom left side and select “Location”.
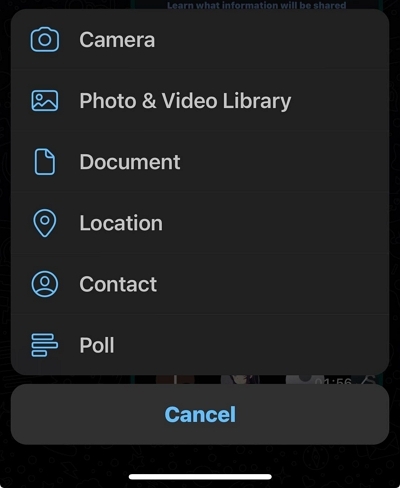
Step 3: Allow WhatsApp to access your location when prompted and tap “Share Live Location”.
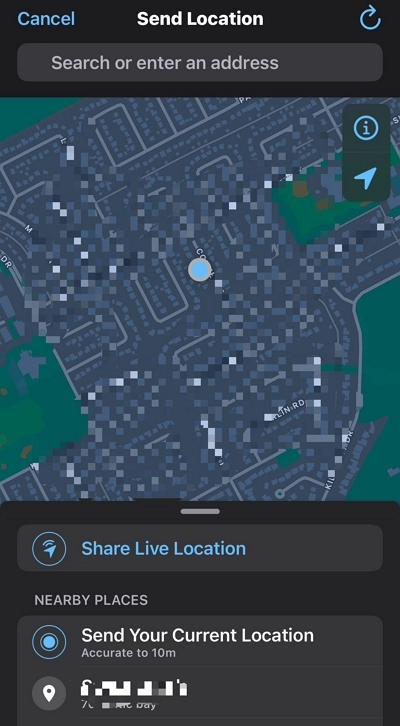
Step 4: Tap “Ok” in the pop-up message.
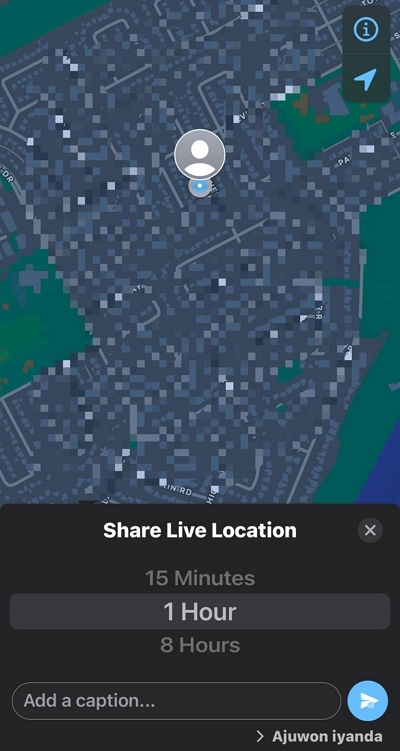
Step 5: Select how long you want to share your live location and tap on “Send”.
Method 2: Share Real-Time Location On Snapchat
Snapchat built-in Map feature can be used to share location with your friends on the platform. It allows you to either share your live location with all your friends or specific friends. Follow these steps:
Step 1: Open the Snapchat app on your smartphone.
Step 2: Tap on your profile icon at the top left.
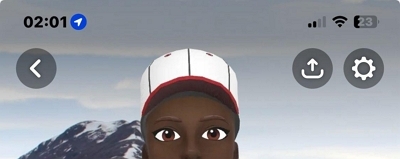
Step 3: Tap on the “Gear” icon located at the top right side.
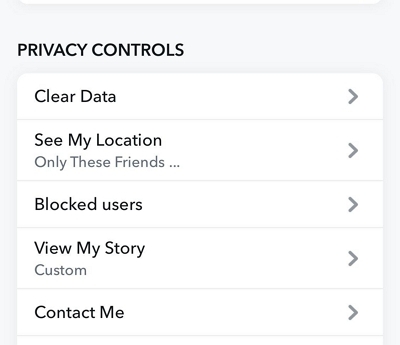
Step 4: In the settings menu, scroll down and select “See My Location” under “Privacy Controls”.
Situation 1: You want to quickly share your location with a few friends
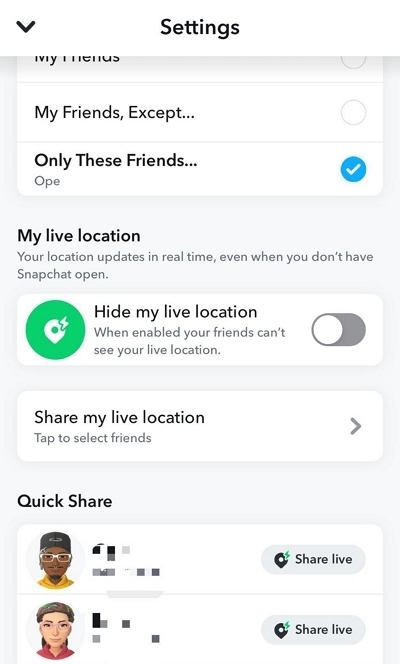
- Scroll down to the “Quick Share” section and tap on the “Share Live” icon next to the person’s username.
Situation 2: You want to always share your location with certain friends
- Select “Share My Live Location”.
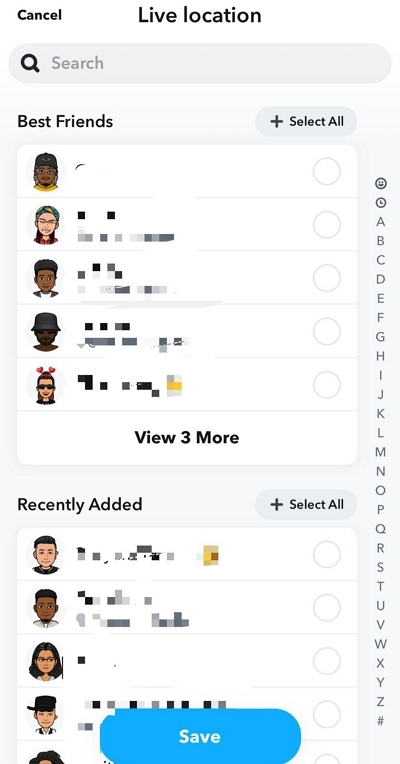
- Choose the “Friends” you want to share your location with and tap on “Save”.
Method 3: Share Live Location On Facebook Messenger
Facebook allows you to share your location with friends using the Facebook Messenger app. So, if the person you wish to share your live location with is on Facebook, follow the steps outlined below to get the job done.
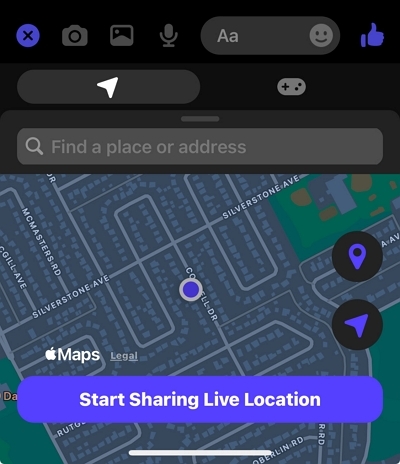
Step 1: Open the Facebook Messenger app > select a chat and tap on the “+” icon at the bottom left side.
Step 2: Tap the “Location Sharing” icon and allow the app to access your location when prompted.
Step 3: Tap on “Start Sharing Live Location” to complete the operation.
Helpful Tip: How Can You Share Fake Location on iPhone?
There might be times when you wish to play a prank on your friend regarding your location or prefer not to disclose your current location to them. In such situations, the best way to achieve your objective is to share a fake location with them. iWhere iPhone Location Changer makes this very easy.
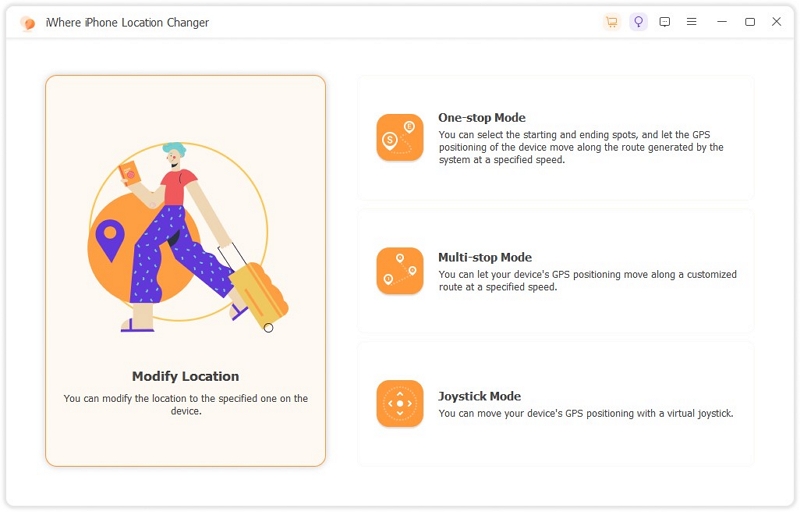
Since its introduction, iWhere iPhone Location Changer has been the go-to location spoofing apps for many users, including gamers to change their iPhone location quickly. It offers a wide range of features, including automatic speed customization, importation/exportation of GOX files, and lots more. You can also use iWhere iPhone Location Changer to change location on any social media app using different location spoofing modes, such as one-stop mode, multi-stop mode, and joy-stick mode.
Key Features
- Spoof iPhone location from computer with fast speed.
- Change location while playing your favorite AR games to your location for AR gaming without physical movement.
- Boast a customizable speed that allows you to move your iPhone from 1 m/s to 50 m/s when spoofing your location.
- Offers top-tier security to ensure complete user privacy when using the app.
- It allows you to bookmark visited locations so you can easily find them when you want to revisit them.
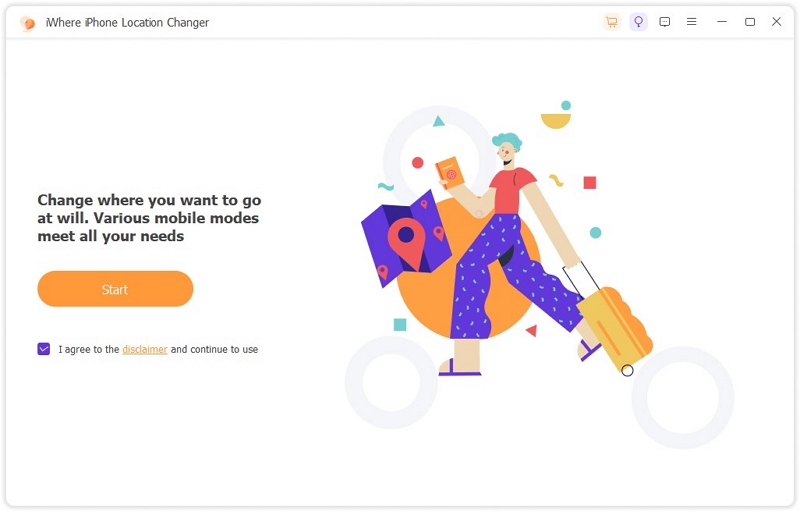
Step 1: Launch the iWhere iPhone Location Changer app and click on the Start button. Connect your iPhone to the computer.
Step 2: Select “Modify Location”.
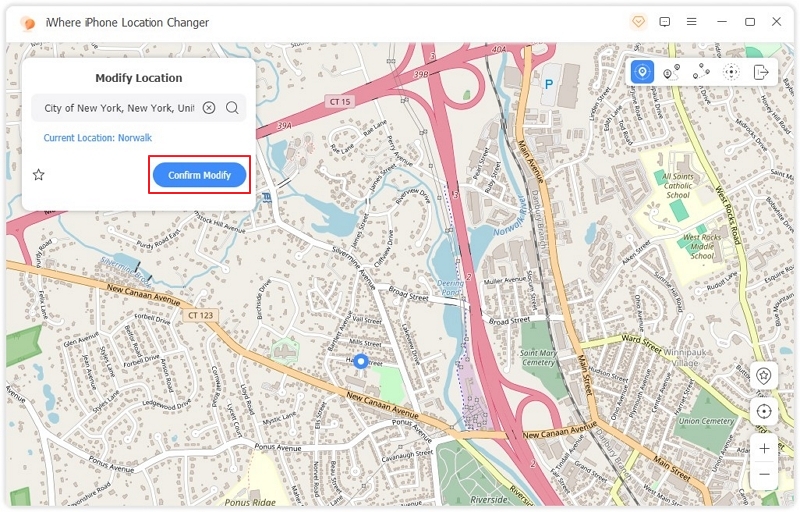
Step 3: In the map that shows up, you should see your current location displayed at the top left side. Type the location you want to move into the empty search box and click “Confirm Modify” to change your location.
Conclusion
Sharing your live location on Android, iPhone, or social media platforms is pretty straightforward. Whether you want to ensure your safety, coordinate meetups, or simply keep loved ones informed, the methods in the article are very effective in achieving your objective. Also, iWhere iPhone Location Changer is a reliable tool if you ever need to share a fake location on iPhone.
