The Share My Location greyed-out problem can hinder your plans in various ways. For instance, you’re traveling to an unfamiliar place or going out with friends, and your parents insist that you must share location before leaving. It can be very disturbing to realize the “Share My Location” feature on your iPhone is not working in these kinds of situations. But don’t panic.
Our guide will enlighten you on some of the reasons you’re experiencing the “Share My Location greyed out” issue and show you the best solutions to fix it without complications.
Part 1: Why is Share My Location Greyed Out on iPhone/iPad/Apple Watch? Quick Answer!
Understanding why “Share My Location” is greyed out often starts with checking your iPhone location settings. Below are common causes:
- You haven’t enabled location services on iPhone.
- iCloud isn’t signed in on your device.
- Find My Friends isn’t working due to Screen Time restrictions.
- Your device displays “no location found” on iPhone due to mismatched date and time settings.
If these issues persist, refer to the solutions below to restore your location-sharing capabilities.
Part 2: Best Solutions to Fix Share My Location Greyed out on iPhone/iPad/Apple Watch
In this part, we have explained how to fix Share My Location greyed out on iPhone/iPad/Apple Watch using the best solutions. Read on to learn how each method works.
Solution 1: Restart Your Device
Start by restarting your iPhone, iPad, or Apple Watch to address minor software glitches affecting iPhone location services:
Restart iPhone
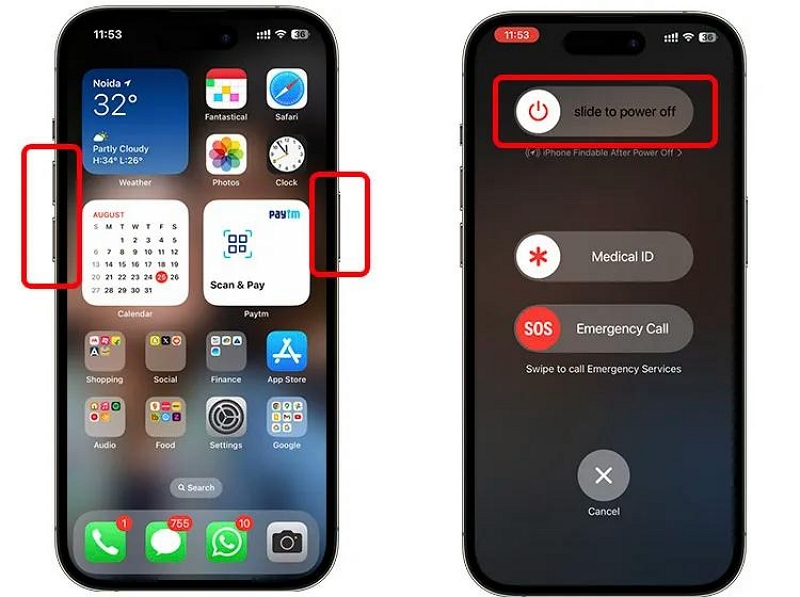
Step 1: If you use iPhone X or later, press the “Side” button and the “Volume Up” button simultaneously.
- On iPhone 6, 7, 8, or SE (2nd & 3rd Gen), just press the “Side button” only.
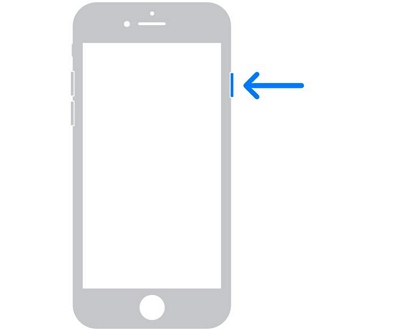
- Press the “Top” button if you use iPhone SE (1st Gen), 5, or Earlier.
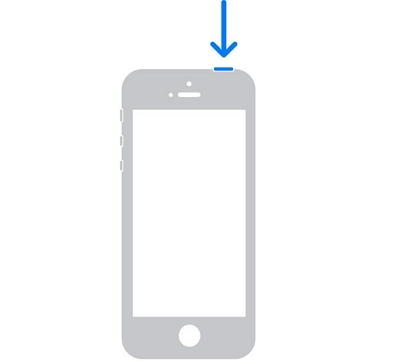
Step 2: Do not release the button until you see the “Power Off” screen. Then, slide the “Power Off” slider to the right to turn off the iPhone.
Step 3: Turn on your iPhone after 10 seconds.
Restart iPad
Step 1: If you’re using an iPad with home button, hold the “Top” button.

- If your iPad doesn’t have a home button, press the “Volume button” and the “Top button”.
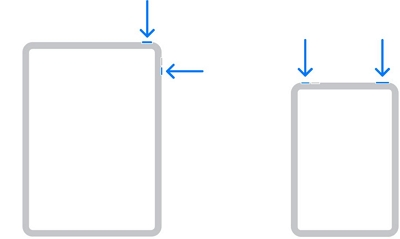
Step 2: Do not release the buttons until the “Power off” slider is shown. Then, slide to the right to power off your iPad.
Step 3: Turn on your iPad after several seconds.
Restart Apple Watch
Step 1: Press down the “Side” button and the “Digital Crown” until you see the power off screen.

- If you’re using watchOS 9, press the top button.
Step 2: Swipe the “Power Off” slider to the relevant direction to switch it off.
Step 3: Press and hold the “Side” button to turn your watch back on after a few seconds.
Solution 2. Enable Location Services
If location services on iPhone are disabled, features like Find My Friends or sharing location on iPhone may not work.
Steps For iPhone/iPad
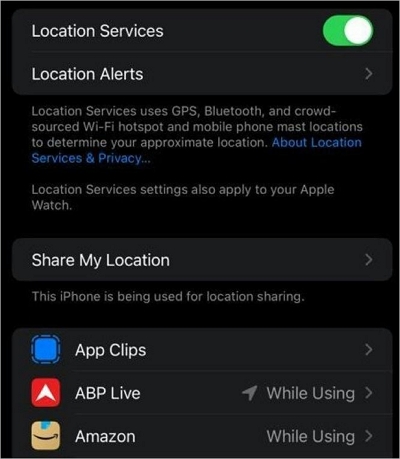
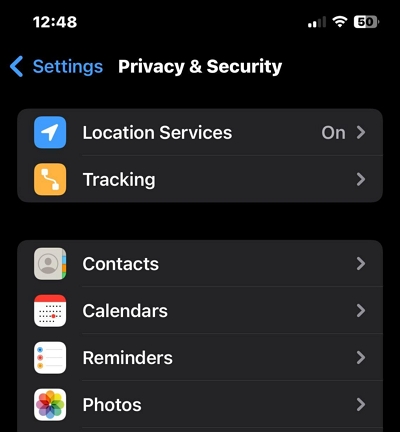
Step 1: Open the Settings app. Go to “Privacy & Security” and tap on “Location Services”.
Step 2: Tap the “Toggle” next to “Location Services” to turn green.
Steps For Apple Watch
Step 1: Open the “Settings” app on your Apple Watch.
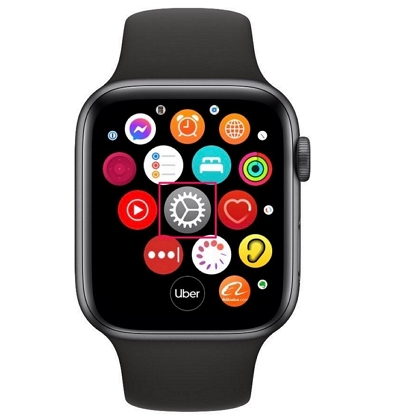
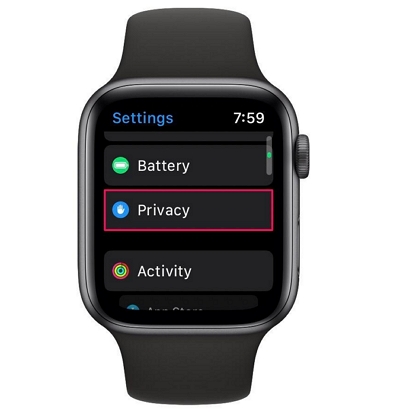
Step 2: Scroll down and select “Privacy”.
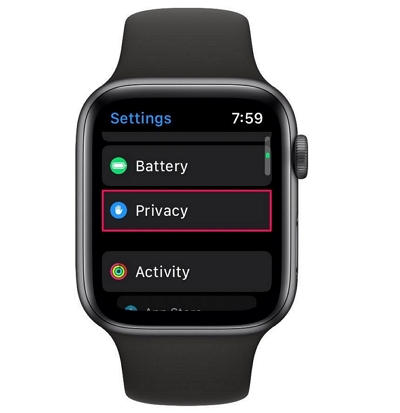
Step 3: Tap on “Location Services”.
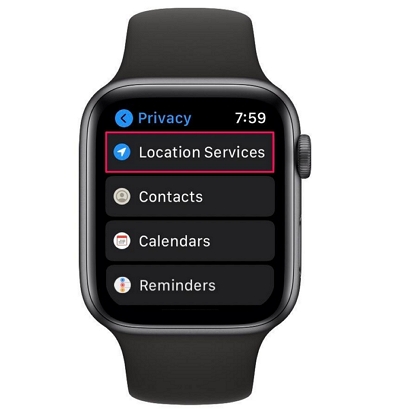
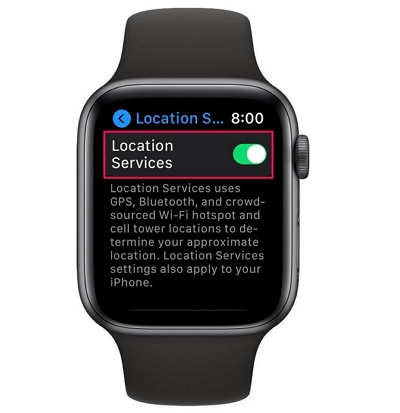
Step 4: Enable the toggle next to “Location Services”.
Solution 3. Sign in to Your iCloud Account
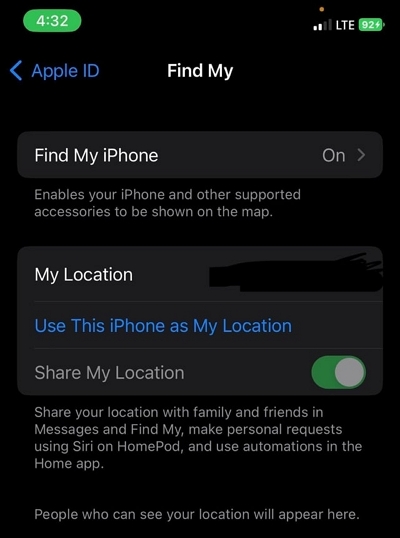
To fix “no location found” in Find My Friends, ensure you’re signed in to iCloud and that location sharing is active:
Steps For iPhone/iPad
Step 1: Tap on the “Apple ID Banner and select “Sign In To Your [Device]”.
Step 2: Type your “Apple ID (Email address)” and password in the provided fields.
Step 3: Tap “Sign In” to log in to your iCloud account.
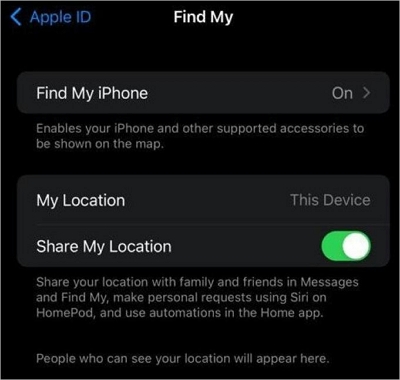
Step 4: After that, select “Find My” and turn on the toggle next “Share My Location” to make it accessible.
Steps For Apple Watch
Step 1: Open the “Apple Watch” app on your iPhone.
Step 2: Select “My Watch” > General > Apple ID.
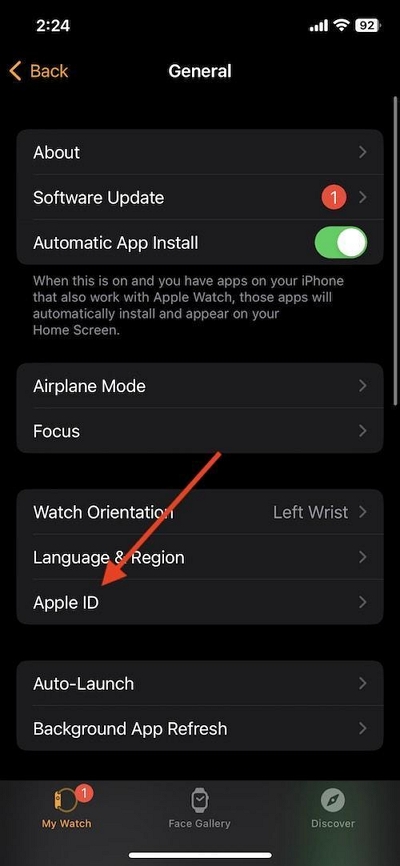
Step 3: Enter your Apple ID and password when prompted to sign in your iCloud account on your Apple Watch.
Solution 4. Turn Off Screen Time Restrictions
If your iCloud account is signed in, but the situation is still the same, there might be a Screen Time restriction on your iPhone. You should try checking your device’s restriction settings and turn it off using the steps we outlined below:
Step 1: Go to “Settings” and select “Screen Time”.
Step 2: Scroll down and tap on “Content Privacy and Restrictions”.
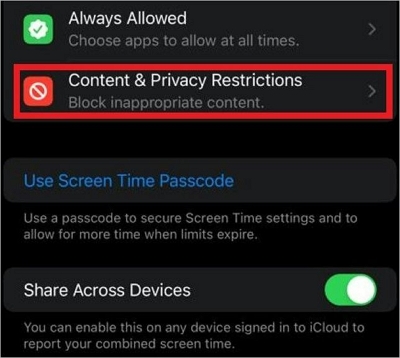
- Enter the pin you use to set it up when prompted.
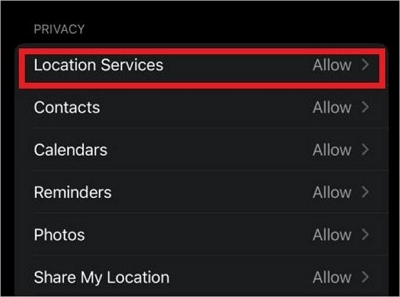
Step 3: Navigate to the “Privacy” section and tap on “Location Services”.
Step 4: Select “Allow Changes” > turn on “Location Services” > and tap on “Share My Location” to enable it.
Solution 5. Enable App Permission to Access Your Location
If you’re using the Find My iPhone location service app, you need to ensure that the app’s permission to access your current location is enabled. Here is how you can check:
Steps For iPhone/iPad
Step 1: Go to “Privacy & Security” on the “Settings” app.
Step 2: Select “Location Services”.
Step 3: Select the app you want to access your location and tap on “Always” under “Allow Location Access”.
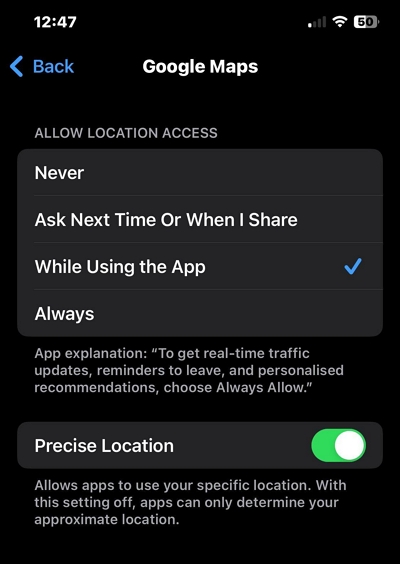
- Turn on the toggle next to “Precise Location”.
Steps For Apple Watch
Step 1: Go to “Settings” and select “Privacy”.
Step 2: Tap on “Location Services”.

Step 3: Locate the Find My and select “While Using App”.
Part 3: How to Create and Share A Fake Location on iPhone
iWhere Location Changer location spoofing app is the best solution to create and share fake location on iPhone or Android. This ultimate tool allows you to quickly change the GPS location of your device to a virtual location from a Windows or Mac computer without jailbreaking or rooting.
With iWhere Location Changer, you can fake your iPhone/Android location in any kind of situation. It does not matter whether you want to prank your friends, access location-specific content via apps, share fake locations with your parents, etc., it’ll provide you with advanced location spoofing features to get the job done without notifying anyone.
Key Features
- It allows you to easily import GPX files and set specific locations or tracks for your iPhone/Android to follow.
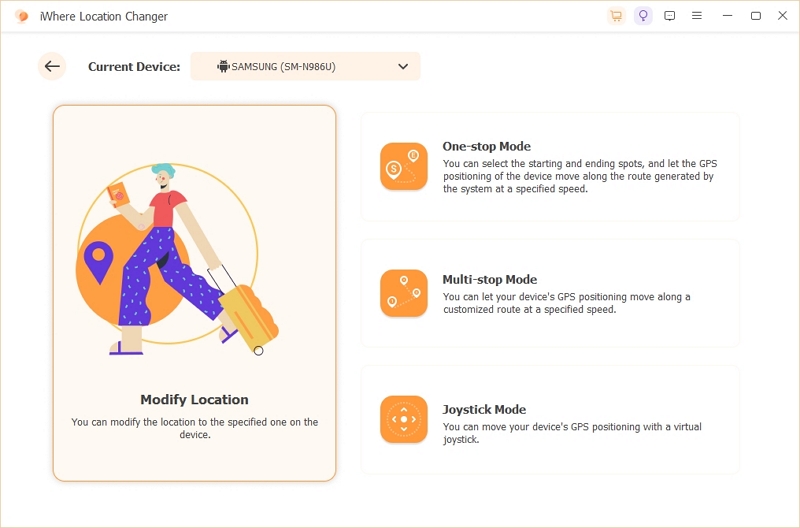
- Offers three movement modes: One-stop Mode, Multi-stop Mode, and Joystick Mode.
- Automatically save route records in the history and check the distance of each move.
- Boasts an excellent location spoofing server that ensures you don’t encounter any downtime when faking your iPhone location.
Create Fake Location With iWhere Location Changer
Step 1: Visit the iWhere website and install the latest version of iWhere on your computer.
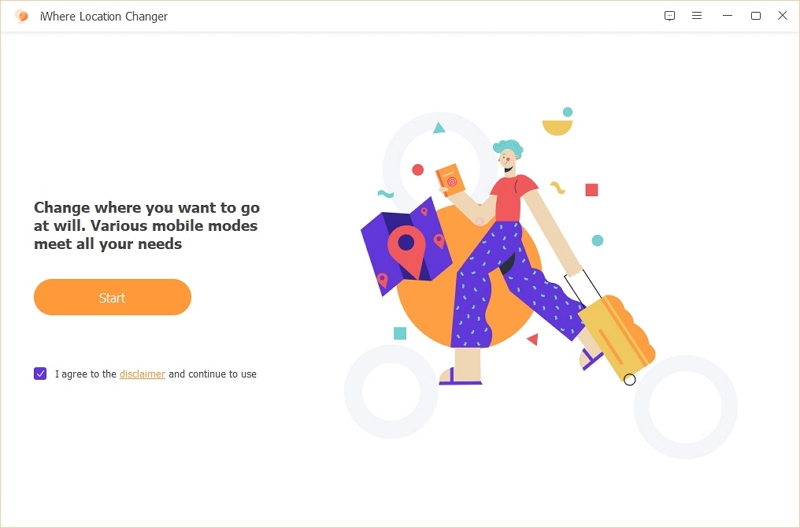
Step 2: Launch the app and connect your iPhone/Android to the computer. Then, click on “Start”.
Step 3: Click on “Modify Location”.
Step 4: iWhere will display your iPhone’s current location in the map that loads after you click “Modify Location”. You can navigate the map by zooming IN/OUT to see regions you can use to fake your location.
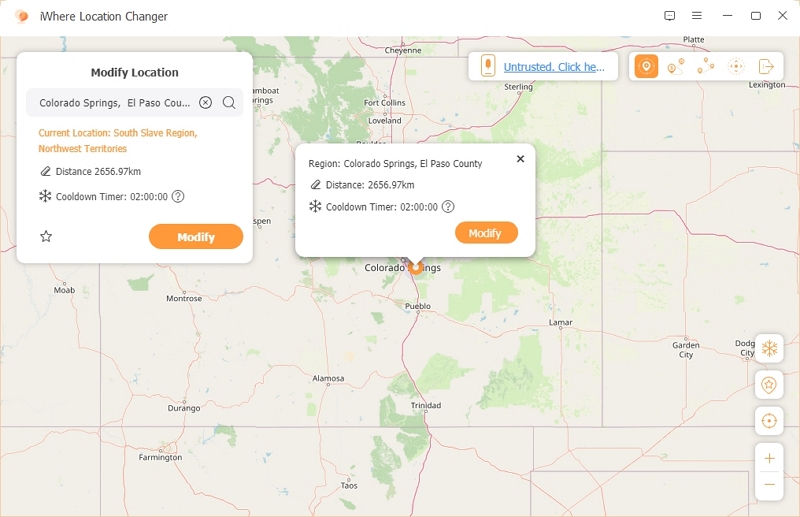
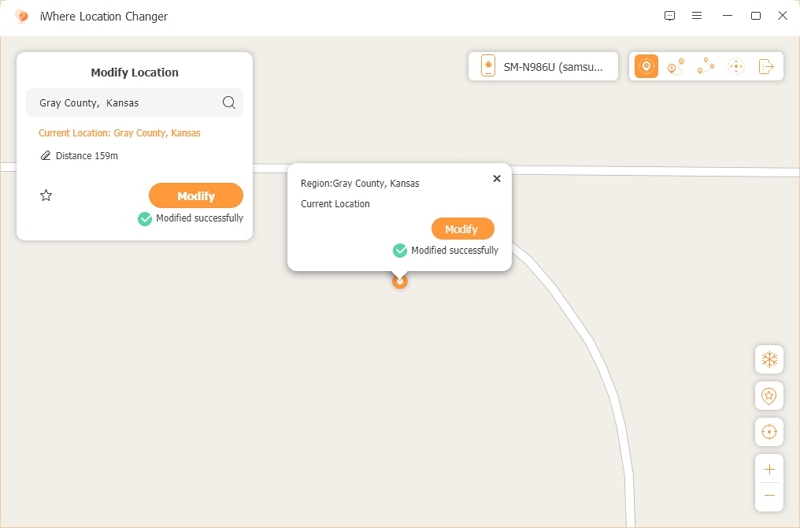
Step 5: Type your preferred “Destination” in the “Search box” at the top-right corner and click “Modify” to fake your iPhone location.
Share Fake Location On iPhone
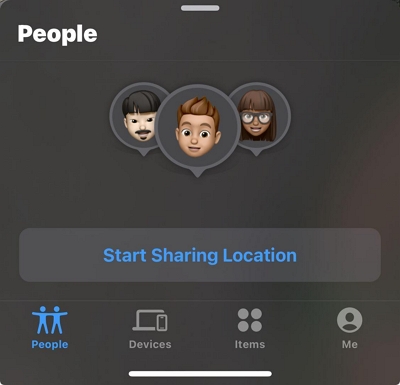
After using iWhere to fake your iPhone location, follow the steps below to share a fake location on your iPhone via the Find My app.
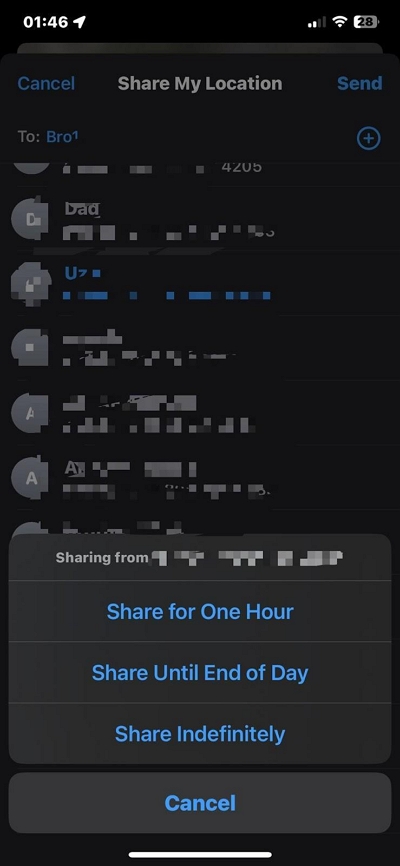
Step 1: Select the “People” tab in “Find My” and tap on “Start Sharing Location”.
Step 3: Select the person you want to share a fake location with and tap “Send” at the top right side.
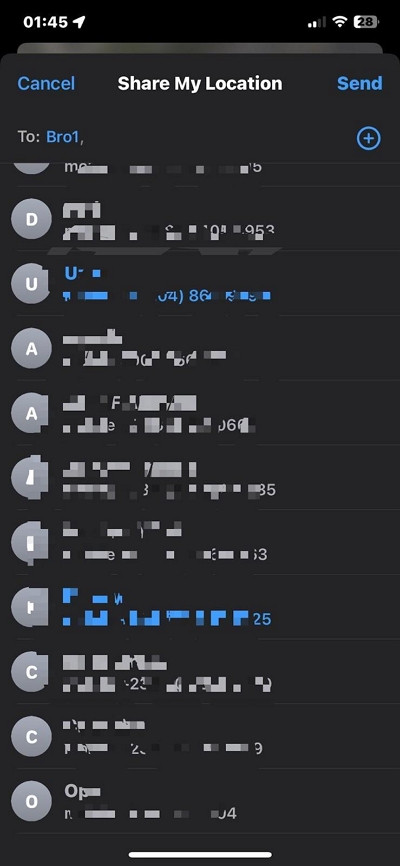
Step 4: Choose how long you want to keep sharing the fake location.
FAQs
1. What Does It Mean When Someone’s Location Is Grey On iPhone?
When someone’s location is grey on iPhone, it means the person’s location is unavailable. This could be because the user is not connected to the internet, their location is disabled on the iPhone, their iPhone location tracking is not working, or their device’s GPS is experiencing difficulty in receiving information from satellites.
2. How to Share Location on iPhone Through Text?
The best way to share your location through text on your iPhone is by using the iMessage app. The steps are as follows:
Step 1: Launch the “iMessage App” and open a conversation.
Step 2: Tap on the icon at the bottom left corner and select “Location”.
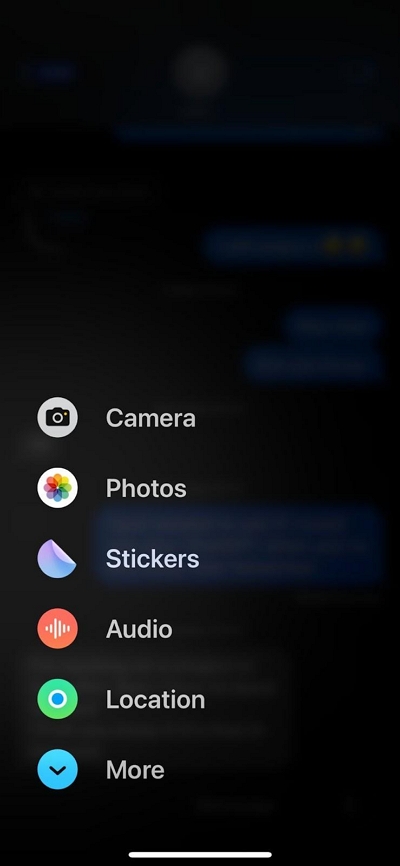
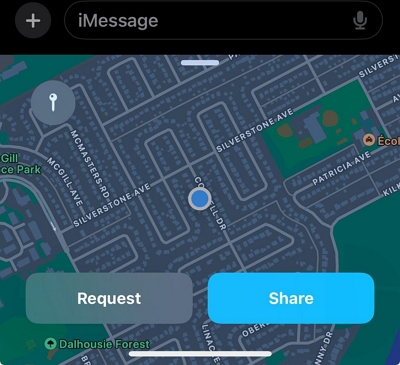
Step 3: Choose your location in the “Map” that shows up and select “Share”. Then tap the “Send” button.
3. Why Do I See “No Location Found” on iPhone?
“No location found” typically means your device is offline, GPS is disabled, or the recipient has turned off location sharing. To fix:
- Ensure the device is connected to the internet.
- Check location settings on iPhone and enable Precise Location if needed.
4. How to Stop Sharing Location on iPhone?
Go to Find My > People, select the contact, and tap Stop Sharing My Location.If you want to suspend location sharing without notifying the other person, read our expert article: 3 Ways to Stop Sharing Location on iPhone Without Notification
Conclusion
Share My Location greyed out on iPhone, iPad, or Apple Watch can be frustrating for users who rely on this functionality. However, with the information provided in this article, you should be able to resolve the issue. Besides, the troubleshooting tricks we provided are easy to follow. When you want to create fake location on your iPhone or iPad, iWhere iPhone Location Changer is the perfect location spoofing software to help you get the job done without notifying.