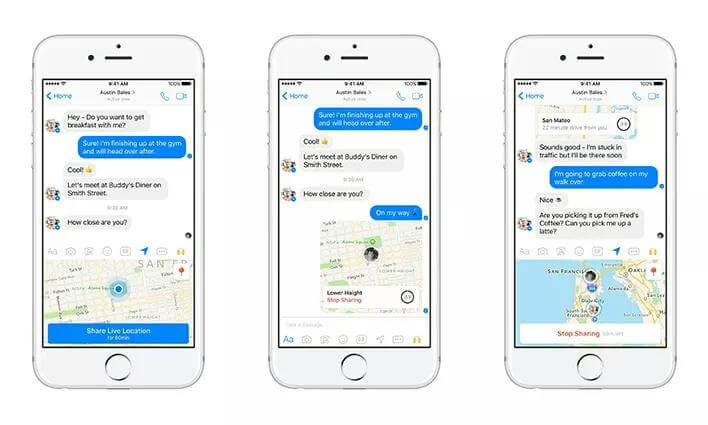
Since its introduction, the Facebook Messenger location-sharing feature has been a very helpful tool for many users looking to share location with family and friends. It can come in handy to keep your loved one posted on your current location, especially when you’re traveling to another region or out on a first date with someone you just met online.
If you don’t know how to share location on Messenger, this post will teach you the best ways to share live, pin, or fake location on the Messenger Android or iPhone app.
Part 1: How to Share Live Location on Messenger on iPhone
Sharing live location on Messenger iPhone is a straightforward process that can be done in a few steps. Read on and let’s show you how this works.
Step 1: Open the “Facebook Messenger” app on your iPhone and find your way to the “Chat” area.
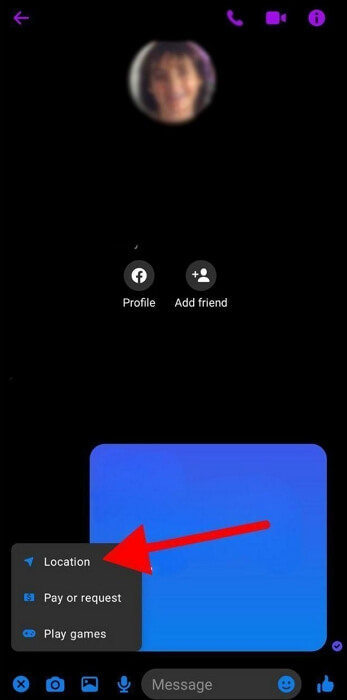
Step 2: Select your chat with the person you want to share your location with. Then, tap on the “Plus” icon at the bottom left and choose “Location”.
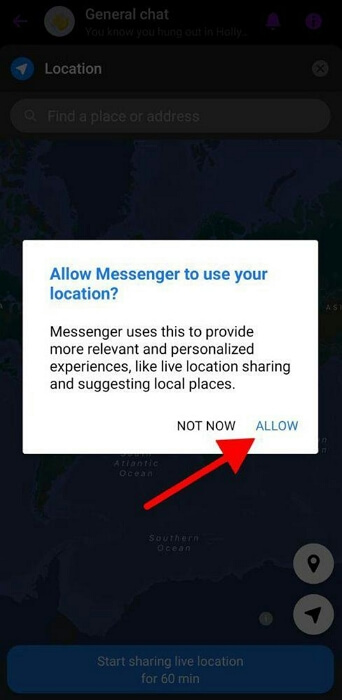
Step 3: You might be asked to allow the “Facebook Messenger” app to access your location if you haven’t granted it access. Please, “Allow”.
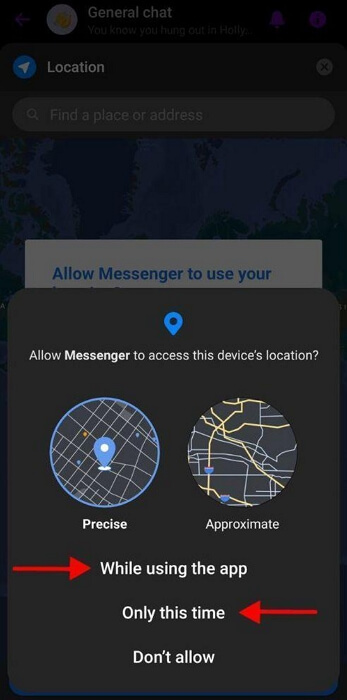
Step 4: Tap on the “Arrow” icon displayed at the bottom-right side of the “Map” and select either “Precise” or “Approximate” location, depending on your needs.
Step 5: Finally, tap on the “Send” icon to share your live location
Stop Sharing Live Location: To stop sharing your location, you can just tap on “Stop Sharing”.
Part 2: How to Share Live Location on Messenger Android
Similar to iPhone, you also don’t need any technical steps to share live location on Android.
We’ve discussed the step-by-step process below:
Step 1: Launch the Messenger app on your Android device.
Step 2: Tap on the conversation with the person or group you want to share your location with.
Step 3: In the conversation window, tap the “More” icon (four dots) located at the bottom-left side of the screen.
Step 4: Select “Location” from the menu that appears.
Step 5: You will be presented with options to share your live location for a specific period or your static location. Choose “Share Live Location” and select the duration.
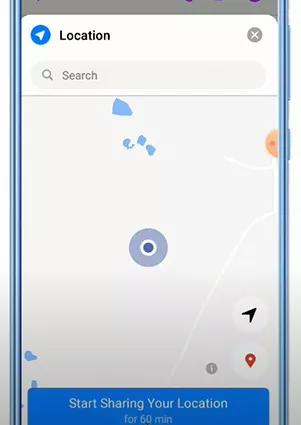
Step 6: After selecting your sharing preferences, tap “Send” to share your location with the chosen contact or group.
Stop Sharing Location: Just tap on “Stop Sharing Location” to end it.
Part 3: How to Share Google Maps Location on Messenger
While it is easy to share your live location directly from Messenger, the app does not allow you to share location with more than one person simultaneously. So, in situations where you’re looking to share location with more than one person on Messenger, we recommend using the Google Maps app, as it makes it easy for you to share location with multiple people without having to move from one chat to another.
Here is how this method works:
Step 1: Launch the “Google Maps” app on your Android or iPhone.
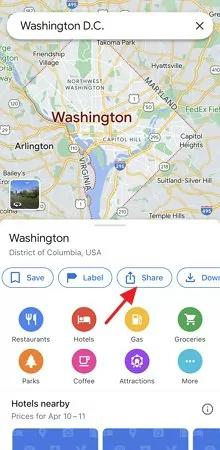
Step 2: Tap on your “Profile ID” from the top-right corner and select “Location Sharing”.
Step 3: Select your current location from the “Map”. Then, tap on the “Share” icon at the bottom of your screen.
Step 4: Select “Messenger” app icon.
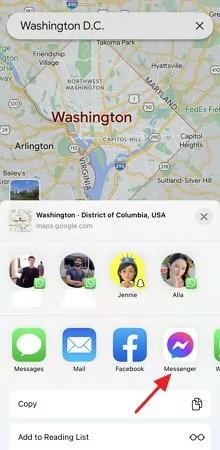
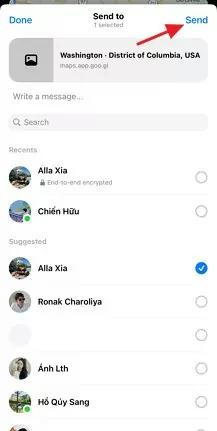
Step 5: Select the “Friends” or “Families” you want to share your live location with. Then, tap on “Send”.
Part 4: How to Send A Location Pin on Messenger
Another proven technique to share location on Messenger is to share your location pin. In this section, we will show you how to do that on your Android or iOS device.
Steps on iPhone
Step 1: Go to the “Messenger” app and navigate to a conversation with anyone you want to share your location with.
Step 2: Tap the “Plus” icon at the bottom-left and select “Location”.
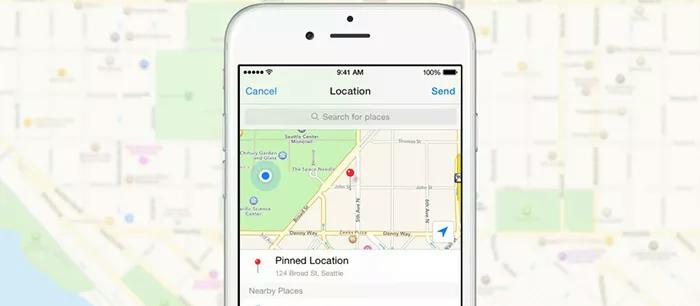
Step 3: In the “Location Map” that appears, tap on the “Red pin” sign and click on “Send” to share your location.
Steps on Android
Step 1: Open a “Chat” with someone you want to share your location in the “Messenger” app.
Step 2: Tap the “Four-dots” icon in the bottom left corner and select “Location”.
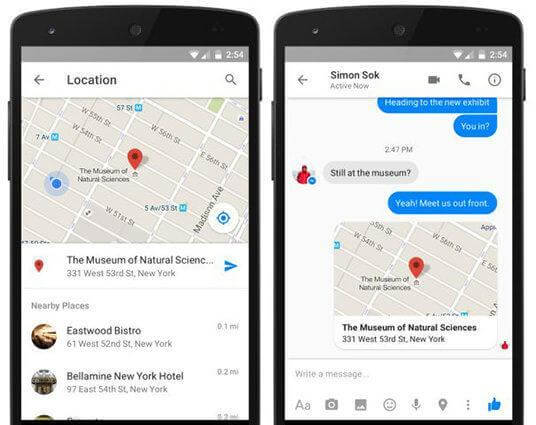
Step 3: Select the “Red Button” in the right corner and tap on the “Send” icon.
Part 5: How to Share Fake Location on Messenger on iPhone Without Them Knowing
It’s very easy to share fake location on Messenger on iPhone. All you need is the iWhere iPhone Location Changer – a professional location spoofing app with extensive features for faking location. With iWhere iPhone Location Changer, you can fake your iPhone location to anywhere you want. The tool provides various features for tricking location-based apps, including Messenger, AR games, and other social platforms, enabling you to hide your real location and protect your privacy.
What’s more iWhere utilizes advanced technology to mock GPS location with customized routes and speeds. Plus, it also offers a flexible GPS joystick for an enhanced AR gaming experience. It also allows you to import/export GPX files to save your favorite routes and add custom settings while faking your iPhone location.
Key Features
- Boasts the best location spoofing tools to bypass geo-based game restrictions, meet people from different regions on dating apps, and hide real locations on social media platforms.
- Supports all iPhone models with the latest iOS 17.
- Built-in multi-stop location spoofing mode allows the creation of custom routes to fake iPhone location using multiple regions.
- Also, with joystick mode, you enjoy the freedom to move to anywhere around the globe just by using your computer keyboard or cursor.
3 Steps to Fake iPhone Location with iWhere
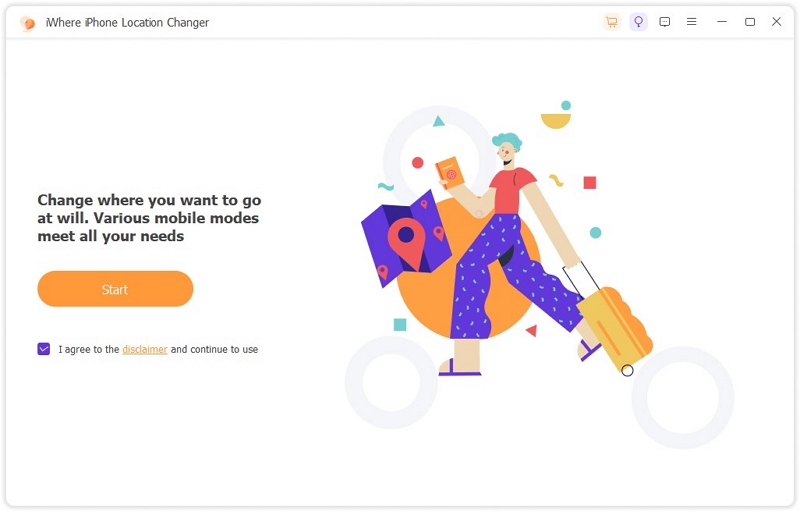
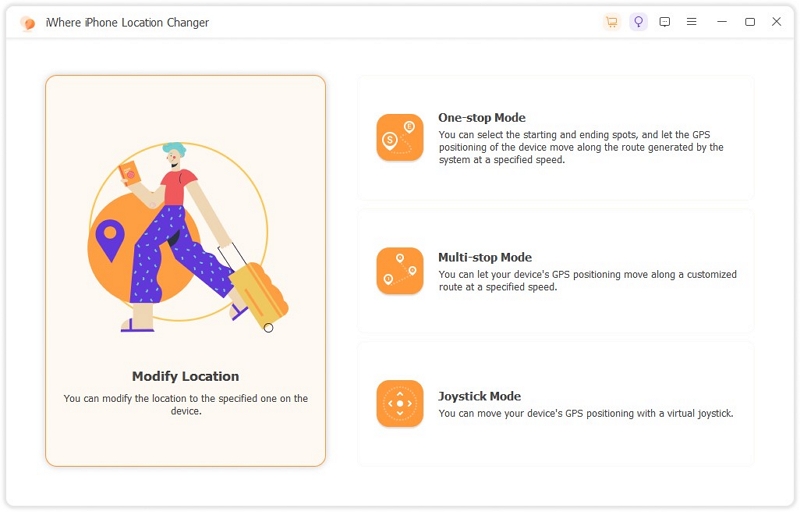
Step 1: First, connect your iPhone to the computer. Then, open the “iWhere iPhone Location Changer” app and click “Start”.
Step 2: Select “Modify Location” as the preferred mode to fake your Messenger location.
Step 3: Finally, select any region from the “Map” or type your “Destination” into the “Search Box” at the top-left side and click “Confirm Modify” to change your location.
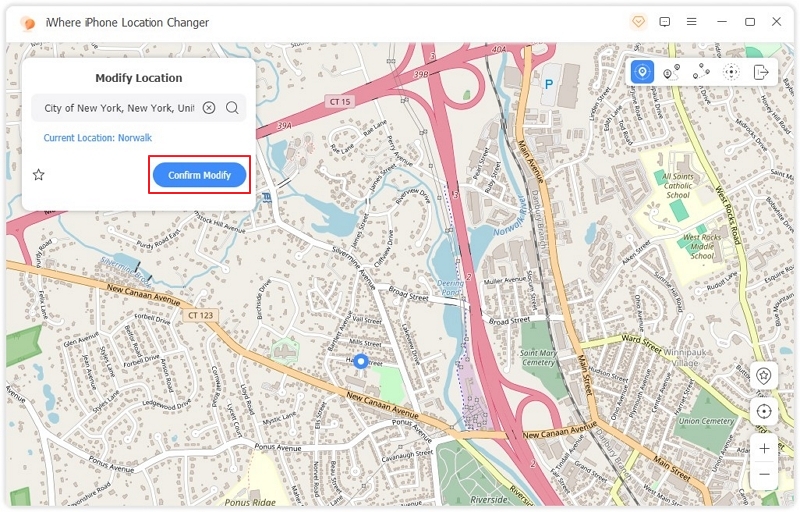
Now, you can share the fake location on Messenger without others knowing.
FAQ: Why Can’t I Share My Location On Messenger?
The are different reasons why you might not be able to share your location on Messenger. The 2 common ones are that you haven’t granted the “Messenger” app access to share your device’s location or poor network connection.
Conclusion
Whether you want to let someone know where you are for safety, convenience, or simply to meet up, Messenger provides a seamless way to share your location with others. In the guide above, we’ve shared the step-by-step process of sharing your location on Messenger using your iPhone or Android. We also touched on the best method to share fake locations on Messenger iPhone using iWhere iPhone Location changer (the best location spoofing app for iPhone).