Updated on 2024-06-21
2403 views
5min read
Sharing your location on iMessage is a great way to stay connected with loved ones even though you’re far away. But sometimes you might be concerned about your privacy, especially when you’re not on good terms with the person you’re sharing location with or someone who abused the privilege.
If wondering how you can stop sharing location on iMessage, don’t panic. In today’s post, you’ll discover five reliable ways to stop sharing location with someone on iMessage without notifying.
Part 1. How to Stop Sharing Location with Someone on iMessage without Notifying
Fortunately, the iMessage app offers the option to stop sharing location with someone without notifying them. This can be done via your conversation with the user. All you need is to follow the steps below;
On iPhone/iPad
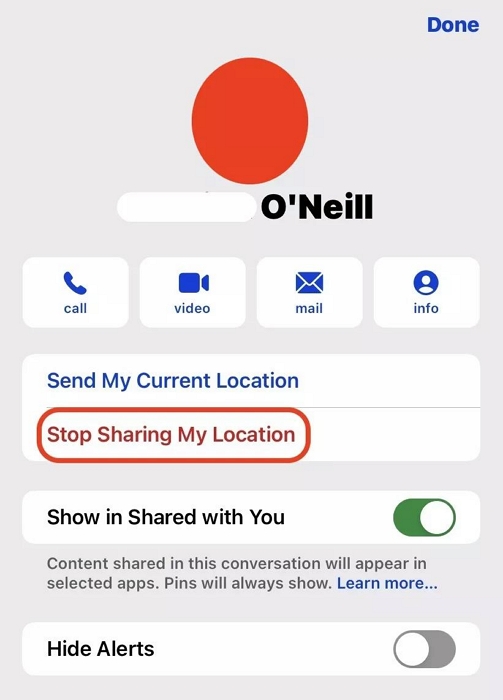
Step 1: Go to “iMessage” and select your conversation with the person you want to stop sharing location with.
Step 2: Tap on the person’s “Name” and select “Info” from the profile.
Step 3: Scroll down and select “Stop Sharing My Location”.
On Mac
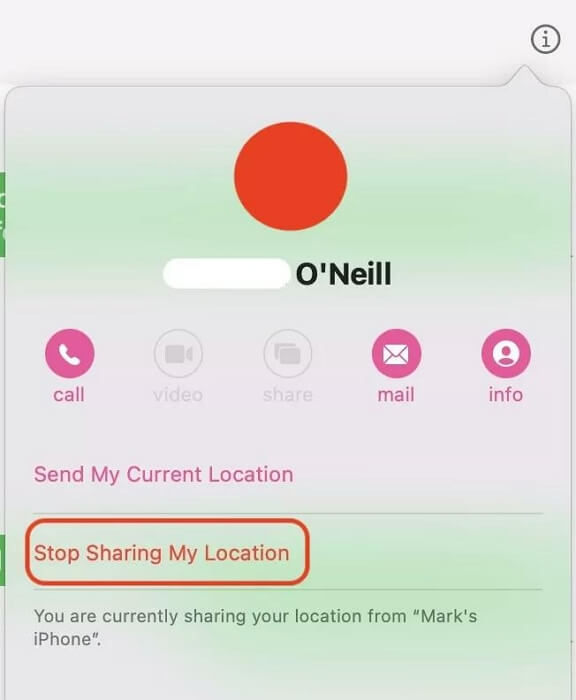
Step 1: Find your way to the “Messages” app and select your conversation with the contact you don’t want to share location with anymore.
Step 2: Click on the “i” (info) button at the top-right side. Then, select “Stop Sharing My Location”.
Part 2. Fast Ways to Stop Sharing Location with Anyone on iMessage without Notifying
The above method only allows you to stop sharing location with a particular person on iMessage. But what if you want to stop sharing your location with more than one person? Well, there are several fast methods you can use.
In this part, we will show you three fast ways to stop sharing location with anyone on iPhone.
Method 1: Enable Airplane Mode
Turning on the Airplane mode on your iPhone is one of the quickest ways to stop sharing your location on iMessage. But there is a catch – you’ll be unable to use your iPhone for operations that require mobile network or internet service.
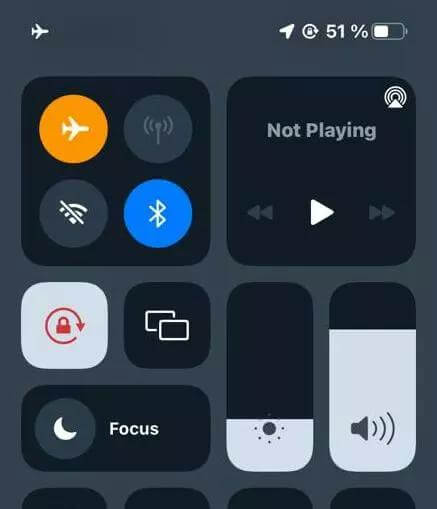
Step 1: Open the “Control” center on your iPhone.
- If you use iPhone 8 or later, swipe down from the top-right side of your screen.
- If you use iPhone 7 or earlier, swipe up from the bottom of your screen.
Step 2: Tap on the “Airplane” icon to turn orange.
Method 2: Disable Location Services
If Airplane mode does not seem to be a good choice, you can easily turn off the Messages all location services permission. Here is how:
Step 1: Open the “Settings” app on your iPhone and navigate to “Privacy & Security”.
Step 2: Tap on “Location Services”.
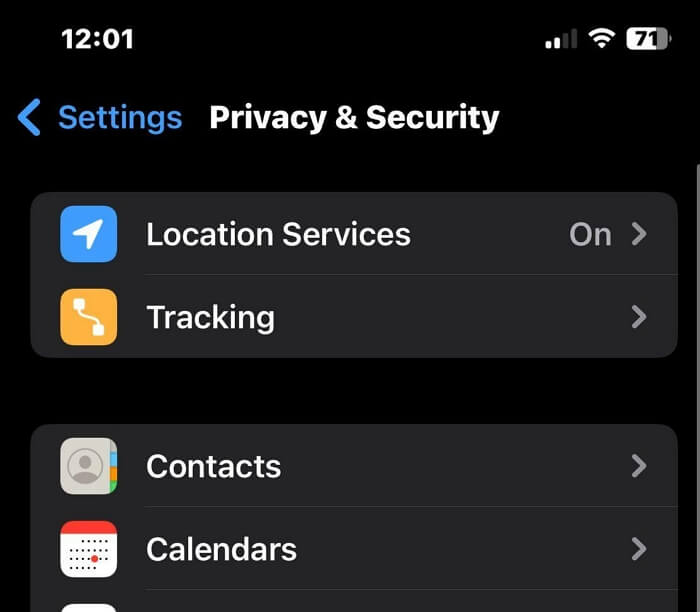
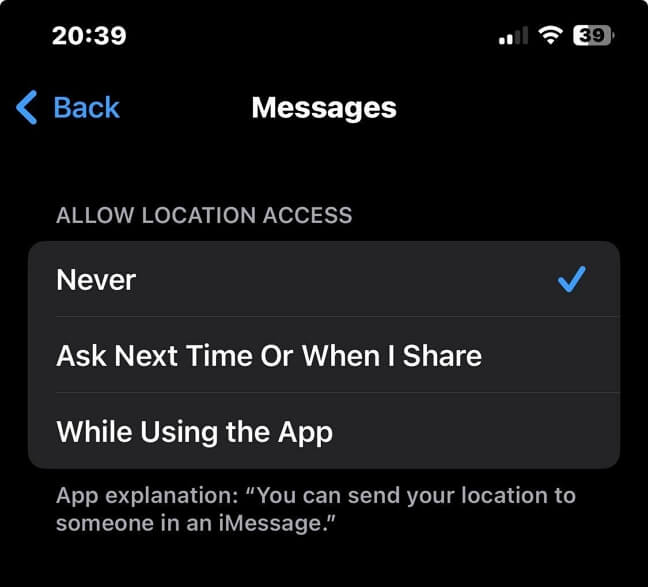
Step 3: Locate the “Messages” app and tap on it.
Step 4: Select “Never” under “Allow Location Access”.
Method 3: Use A Fake Location
Considering the limitations of using airplane mode and location service to stop sharing location with anyone on iMessage, you can easily fake your location with iWhere Location Spoofer to achieve your objective.
iWhere iPhone Location Changer app allows you to stop sharing your exact location with someone on iMessage by spoofing your iPhone GPS location. This way, you real location is hidden without turning off location-sharing on iMessage. It does not restrict you from executing your regular activities.
With this app, you can fake iPhone location for various purposes, including social media, AR games, online streaming services, dating sites and lots more. You don’t even need to jailbreak your iPhone.
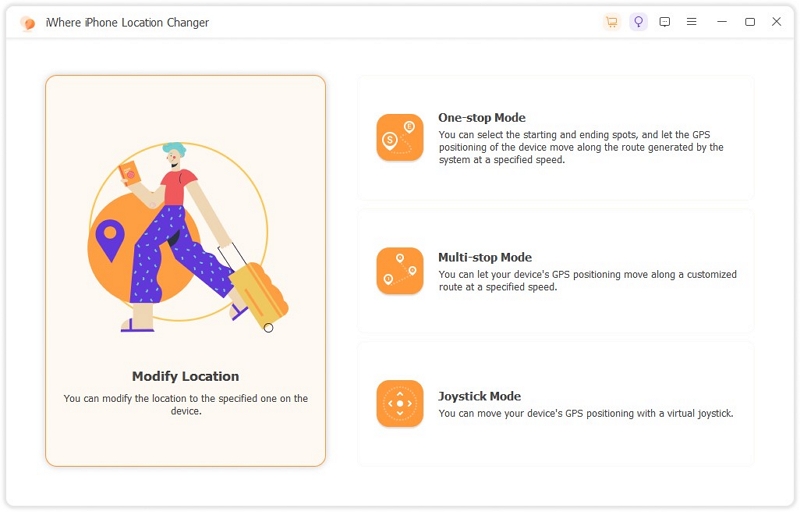
Additionally, iWhere iPhone Location Changer offers excellent features like multi-stop mode, joystick mode, etc. And the best part? It is compatible with all iPhone models, including iPhone 15 models running iOS 17 version.
- Easily spoof location on any iPhone model from your computer with guaranteed privacy.
- Create routes to fake your location on iPhone within various regions using different location spoofing modes.
- Easily customize your iPhone to move at different speeds (within 1 m/s – 50 m/s) while spoofing location.
- In addition to the above, iWhere allows quick customization of moving routes for your iPhone GPS location while playing popular AR games like Pokemon Go.
How to Fake iPhone Location with iWhere iPhone Location Changer:
Step 1: Install the “iWhere iPhone Location Changer” app on your computer. Then, set up the application and launch it.
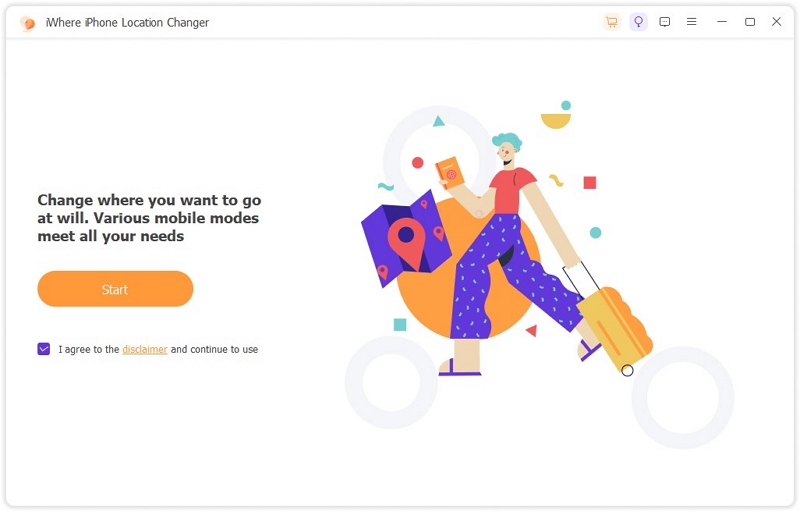
Step 2: Connect your iPhone to the computer and click on the “Start” button.
Step 3: Select “Modify Location”.
Step 4: Drag the map that loads up on your screen to view different locations that you can use to fake your location on iMessage. Then, type the “location” to use in the “Search” box at the top-left.
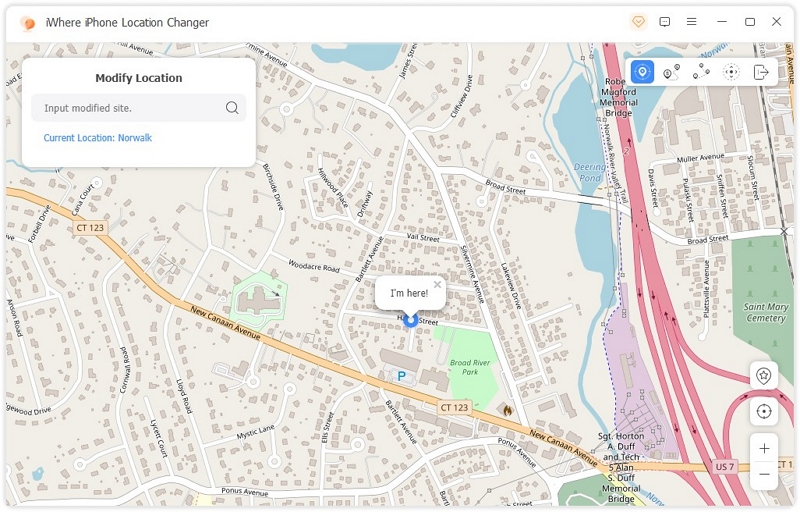
Step 5: Click “Confirm Modify” to fake your location on iMessage instantly.
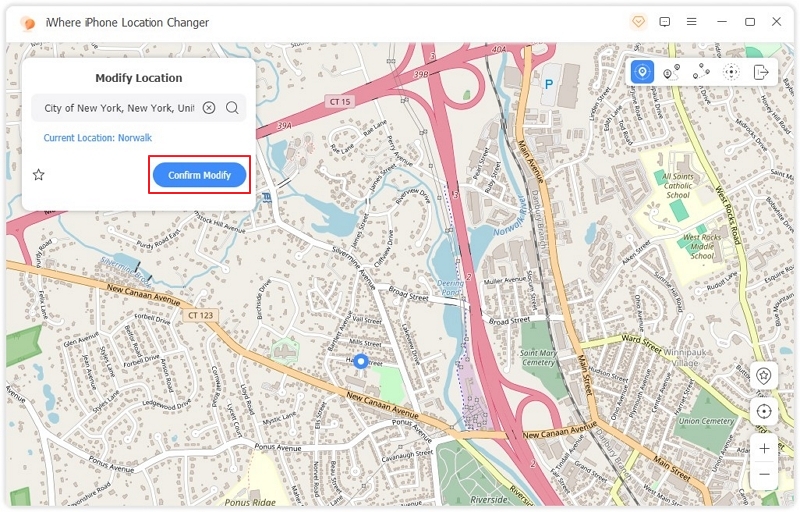
Part 3. How to Stop Sharing Location on iMessage Conversation [Others Will Know]
You can also stop sharing location on iMessage from your conversation. However, the user will be notified. We’ve discussed different ways to do this below:
Method 1: Stop Sharing In Conversation
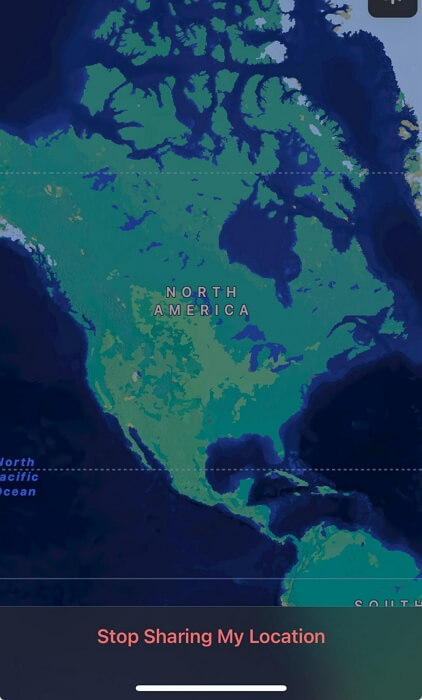
There is an option right at the bottom of the map you shared that says “Stop Sharing My Location”. So, if you don’t mind the user getting notified about your activity follow the steps below to stop sharing your location.
Step 1: Launch the iMessage app and tap on your “Conversation” with the person you want to stop sharing your location with.
Step 2: Tap on the “Map” that shows your current location.
Step 3: Select “Stop Sharing My Location” from the bottom side.
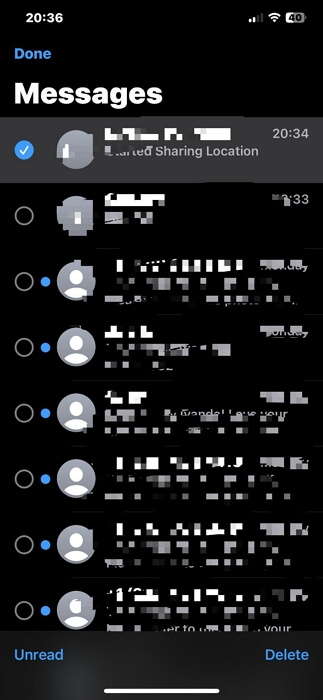
Method 2: Delete the Conversation
Deleting your conversation with someone on iMessage could completely stop sharing your location with the person. The following steps explain the process:
Step 1: Open “iMessage” and tap “Edit” at the top left slide.
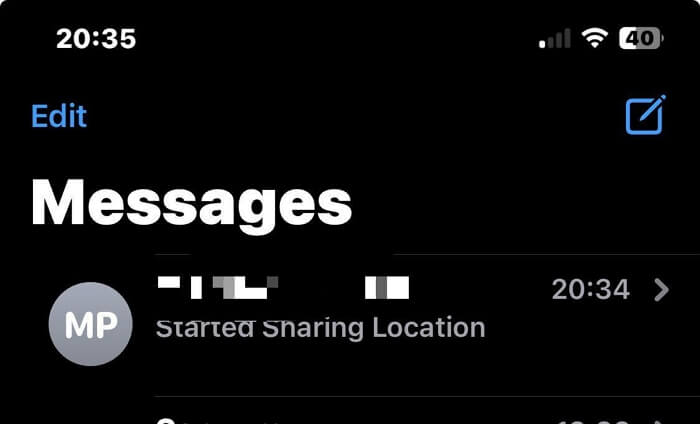
Step 2: Select your conversation with the person whom you want to stop sharing your location with.
Step 3: Tap “Delete” to erase the conversation and stop sharing your location.
Conclusion
With the techniques provided on this page, you should be able to stop sharing location with someone or anyone on iMessage without notifying. Whether you choose to use airplane mode, power off your device, or use iWhere iPhone Location Changer, the steps in the article will enable you to get the job done efficiently. Besides, you don’t necessarily need to be tech-savvy.
