Changing your location on Instagram comes with several benefits. Some of them include access to region-specific content, expansion of business across the globe to increase your leads, and lots more.
Performing this operation is extremely easy, whether you are using an iPhone or Android device. However, some folks find it difficult to do. If this is the same for you, then stick with this post as we walk you through our tutorial guide on how to change location on Instagram profile or posts without hassles.
Part 1. Reasons Why You Need to Change Your Location on Instagram
Here are some of the reasons why individuals and businesses fake their location on their Instagram page:
Access to Content Outside Your Region
When you change your location on Instagram, you get the chance to explore and view incredible posts outside your region. Businesses often use this approach to track their competitors in other regions of the globe to improve on their weaknesses.
To Increase Business Exposure
As a business owner, changing the location on your Instagram profile lets you expand your business to other regions of the globe which in turn increases your leads. By switching between different locations, your brand visibility is expanding too.
Access to Certain Feature
Some Instagram features are region specific. For instance, Instagram Music is available to only users in the US, New Zealand, Australia, France, etc. Folks residing outside these regions are restricted. So they can’t access the feature unless they change their Instagram location.
Part 2. How to Change Instagram Location on iPhone
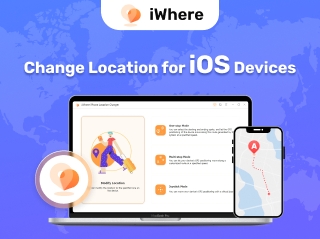
The easiest approach to changing the profile location of your Instagram on any iPhone is to spoof the GPS algorithm using professional iOS spoofing software. There are lots of them online but iWhere iPhone Location Changer is the best to invest in because of the top-notch results it has offered over time.
iWhere lets you simulate the GPS of your iPhone which further affects the activities of all location-based apps available on the Apple Store, including Instagram. The software helps you navigate any route and teleport to any region of the globe without making any physical movement from your end. Your data is safe when using this software, as it doesn’t tamper with your system.
Key Features
- With a few clicks, you can change your Instagram location on your iPhone to any part of the globe without hassles.
- It works with location based apps like Pokémon Go, Facebook, Snapchat, Instagram, and many others.
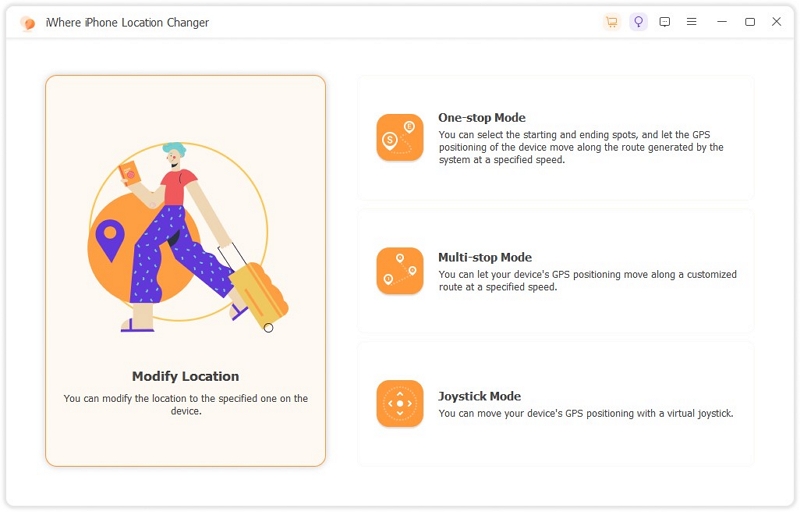
- iWhere offers 3 movement modes; One-Stop Mode, Multi-Mode, and Joystick Mode- all of which are designed to ease your navigation along different routes.
- Save and export your GPS history for future reference.
Steps to Change Instagram Location on iPhone Using iWhere iPhone Location Changer
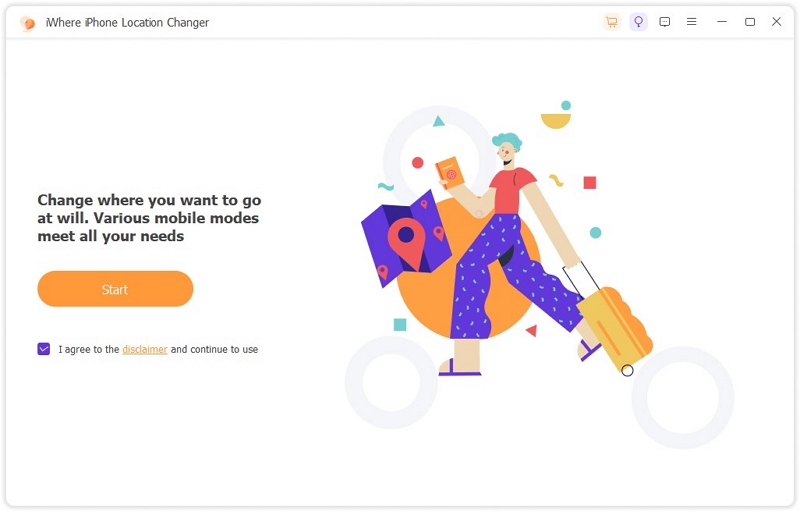
Install iWhere on a computer system, launch it and follow the steps below to change your Instagram location:
Step 1: Via a certified USB cable, connect your iPhone to the computer. A prompt should pop up if you are connecting your phone for the first time. Click Trust on your phone.
Step 2: Check the items and conditions box and hit Start.
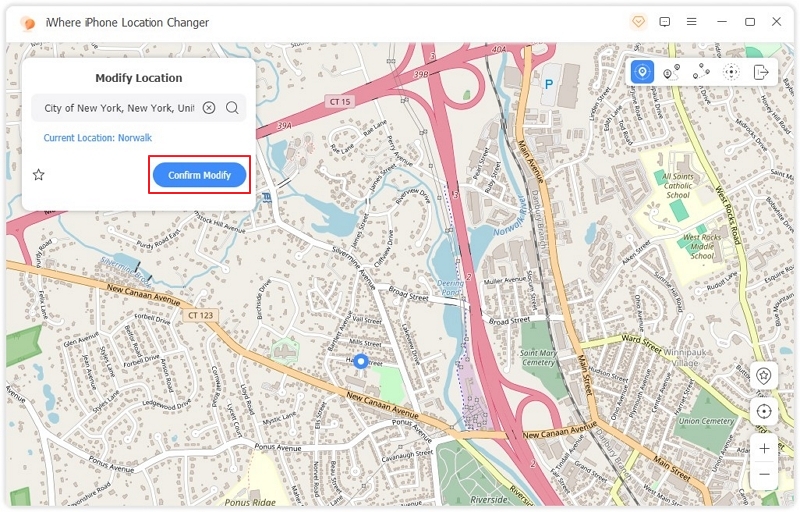
Step 3: After that, proceed to select the Modify Location function.
Next, you will be directed to a screen with your current GPS location. Navigate your mouse to the left sidebar and input the location you want to appear on your Instagram profile.
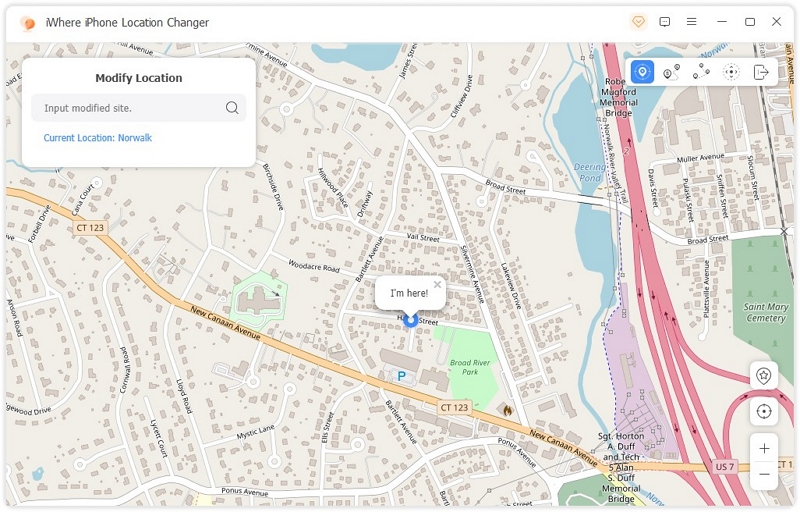
Step 4: Click Confirm Modify and iWhere will switch your Instagram location to the selected destination.
Part 3. How to Change Location on Instagram Post on iPhone/Android
Changing the location on your Instagram posts is pretty straightforward. Depending on the mobile operating system you are using, the approach differs. Choose and follow the procedure that suits your mobile OS from the instructional guide below:
iPhone
- Open the Instagram app on your iPhone.
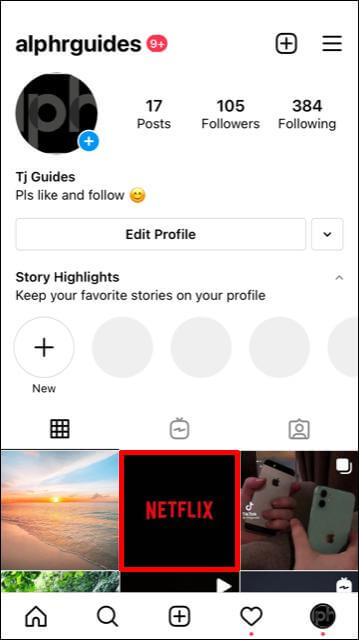
- Click on the profile icon located at the lower right corner of your screen.
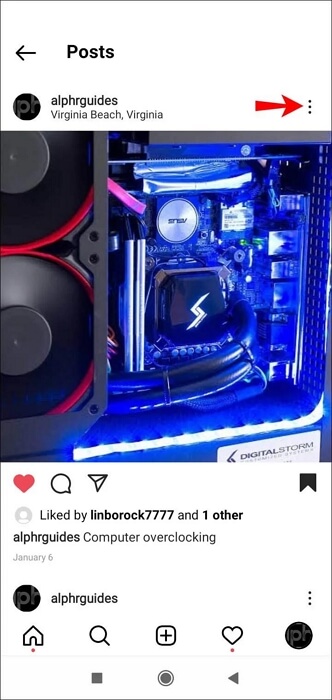
- Next, select the post you want to change its location and the screen below will appear:
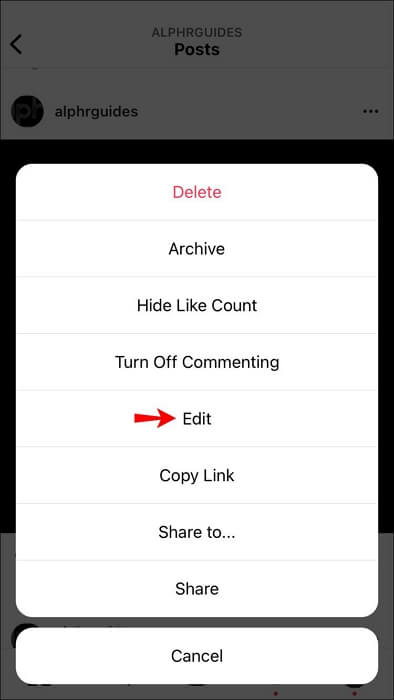
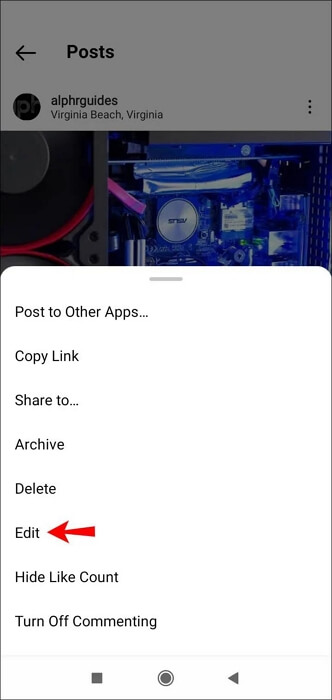
- Click on the three horizontal dots at the top right corner of the post and some settings options will come up.
- Select Edit.
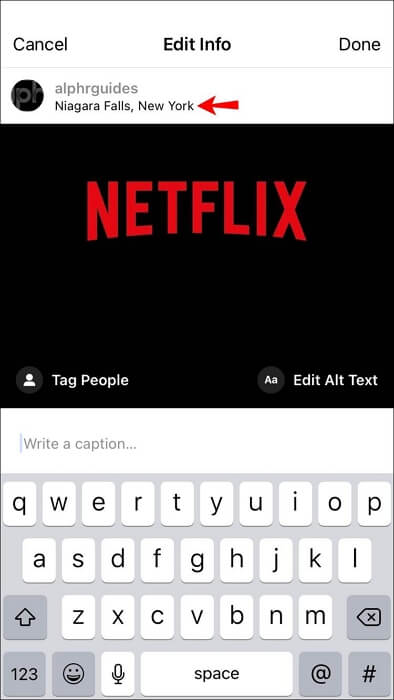
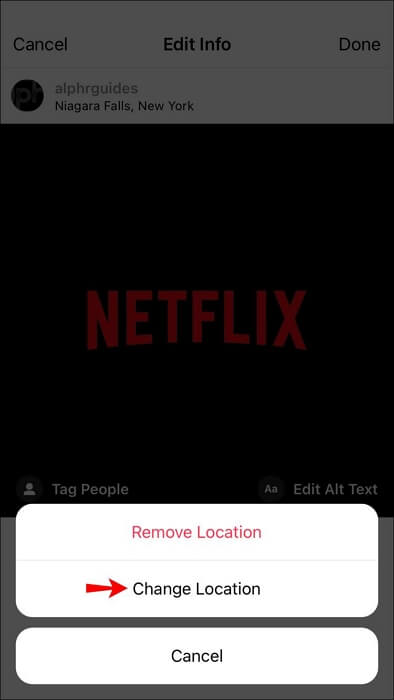
- Click on the location name that appeared underneath your username.
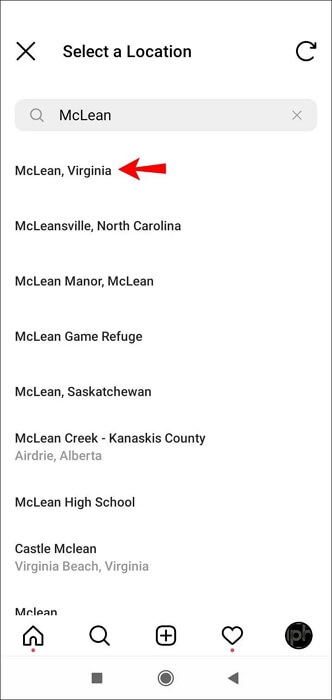
- Now, select Change Location and search a location you would like to appear on the post.
- After that, select the location, and hit the Done button.

Android
- Launch Instagram on your Android phone and click on the profile icon.
- Select a post to change its location, then click on the three vertical dots icon at the top-right corner of the post.
- Choose Edit and tap on the existing location underneath your username.
- Next, tap on Find a Location and enter the new location you want to appear on your post.
- Once completed, click on the blue check button at the upper right corner of your screen to save your actions.
Part 4. How to Add A Custom Location on Instagram from Facebook Profile on iPhone/Android
Facebook and Instagram are sister social platforms as we all know. So sharing profile information between both platforms shouldn’t be a challenge. Whatever activity you schedule your Facebook profile to can also be extended to your Instagram page.
So when you add a location to your Facebook profile, it also appears on your Instagram page. Here’s a simple guide you could follow to add your Facebook location to your Instagram page:
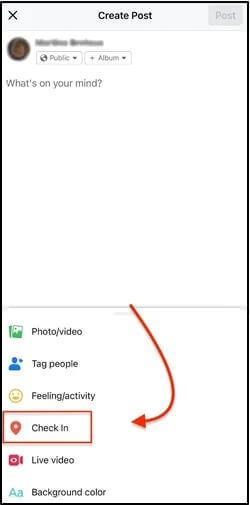
Step 1: Launch the Facebook app on your iPhone or Android and sign in to your profile. After that, proceed to create a post by clicking on the empty space labeled What’s on your mind?.

Step 2: While creating the post, you will find some customization buttons at the bottom of your screen. Click on Check-In.
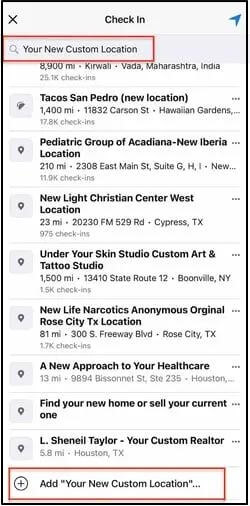
Step 3: Next, allow Facebook to use your location or input a select a destination on the map. Alternatively, you can customize your desired location by entering the name in the search bar and then click on the + icon at the bottom of your screen.
Step 4: Once you are done with that, click on Save Custom Place and your new location will automatically appear on your Facebook and Instagram page.
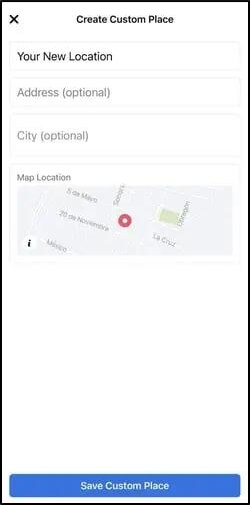
Note: Your Facebook profile and Instagram account must be linked together for this solution to work effectively. Also, you need to note that some of the locations aren’t available on Instagram. So sometimes your Instagram page might fail to read the selected location.
FAQs
Can I hide my location on Instagram?
Yes, you can. To hide your location on Instagram is extremely easy. What you need to do is disable the location permission settings for the Instagram app on your device.
You can do this by taking applying the procedure below:
iPhone
- Launch the Settings panel and select Privacy & Security.
- Click on Location Services.
- Next, scroll down the next interface to where you have the Instagram app icon. Tap on the icon and select Never underneath the ALLOW LOCATION ACCESS panel.
Android
- Open Settings and tap on Apps on the screen that appears.
- Select Instagram from the list of apps displayed.
- Next, click on Permissions > Location.
- Once done, a screen with all the permission options will come up. Select Don’t Allow to hide your location on Instagram.
How do I change my location color on Instagram Story?
For you to change your location color on the Instagram app, these are the steps you need to follow:
- Open Instagram on your phone and upload new content to your story page.
- Next, click on the text icon labeled as Aa at the top of your screen.
- Click on the Location button above your phone keyboard.
- Search and choose a region you want to appear on your Instagram Story.
- Now, click on the Color icon at the top of the screen and choose a color you want the location to display.
Conclusion
Definitely, changing your location on Instagram isn’t a difficult task to execute. By applying any of the steps introduced in this article, you can change the location appearing on your Instagram page and post without hassles. However, iWhere iPhone Location Changer is the best option. With this software, you can teleport your Instagram profile to any region around the globe without moving away from your current location.